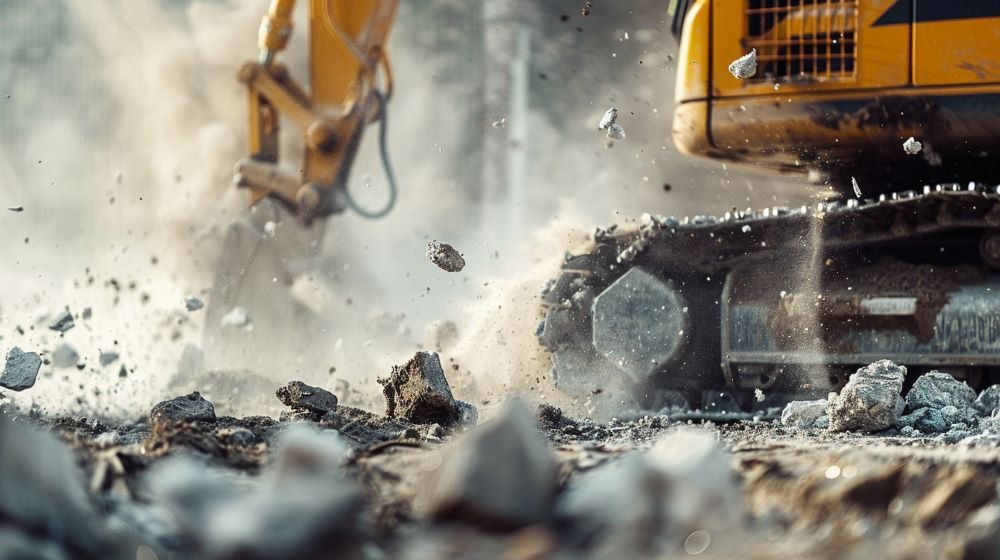
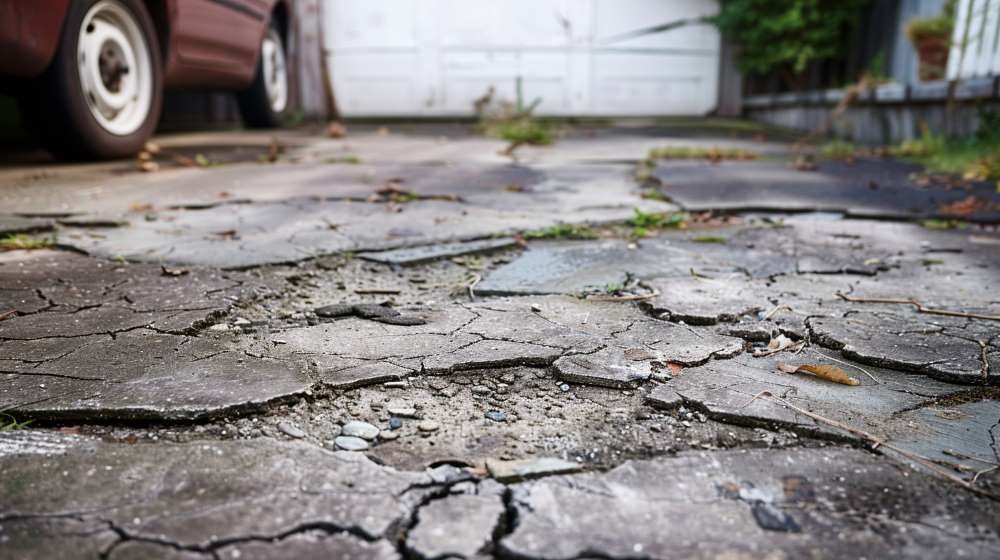
Are you tired of looking at your dull and worn-out concrete driveway? Wondering if you need to install a new driveway or how you can give it a fresh and vibrant makeover? Well, look no further! In this DIY guide, we will take you through the step-by-step process of painting your concrete driveway, transforming it into a stylish and inviting entrance to your home.
From preparing the surface to applying the paint and adding those finishing touches, we’ve got you covered. So, if you’re ready to revamp your driveway and make a lasting first impression, let’s get started!
Preparing the Surface of Your Driveway
To prepare the surface for painting, you should thoroughly clean and repair any cracks or damage in the concrete driveway. Start by sweeping away any loose debris such as leaves, dirt, and gravel. Then, use a pressure washer to remove any stubborn stains, oil spots, or mildew. Make sure to let the driveway dry completely before moving on to the next step.
Next, inspect the driveway for any cracks or damage. Fill in any small cracks with a concrete patching compound. For larger cracks or deep damage, use a concrete repair mortar. Follow the manufacturer’s instructions for application and drying time.
Once the repairs are complete, it’s important to smooth out the surface. Use a concrete grinder or sander to remove any rough or uneven areas. This will ensure a smooth and even finish when you paint.
After the surface is cleaned, repaired, and smoothed, it’s recommended to apply a concrete primer. This will help the paint adhere better and ensure a longer-lasting finish. Choose a primer specifically designed for concrete surfaces and apply it according to the manufacturer’s instructions.
Choosing the Right Paint
When selecting the appropriate paint for your concrete driveway, consider the specific needs and conditions of the surface. The right paint can enhance the appearance of your driveway while also providing durability and protection against harsh weather conditions. Here are some key factors to keep in mind when choosing the paint:
- Type of Paint: Opt for a paint specifically designed for concrete surfaces. This ensures better adhesion and longevity.
- Finish: Decide on the desired finish for your driveway. Choose between a glossy finish for a sleek look or a matte finish for a more natural appearance.
- Colour: Consider the overall aesthetic of your property and select a colour that complements the surrounding elements. Lighter colours can help to reflect heat and reduce the temperature of the driveway.
- Weather Resistance: Look for a paint that offers resistance to UV rays, rain, and extreme temperatures. This will help maintain the colour and protect the concrete from damage.
- Application Method: Consider the ease of application and choose a paint that suits your DIY skills. Some paints may require additional equipment, such as sprayers or rollers, while others can be applied with a brush.
Applying the Paint
Make sure to prepare the concrete surface before applying the paint. Before you start painting, it’s important to clean the surface thoroughly. Remove any dirt, oil, or grease using a pressure washer or a concrete cleaner. Scrub the surface with a stiff brush to ensure that it’s free from any debris. Allow the concrete to dry completely before proceeding.
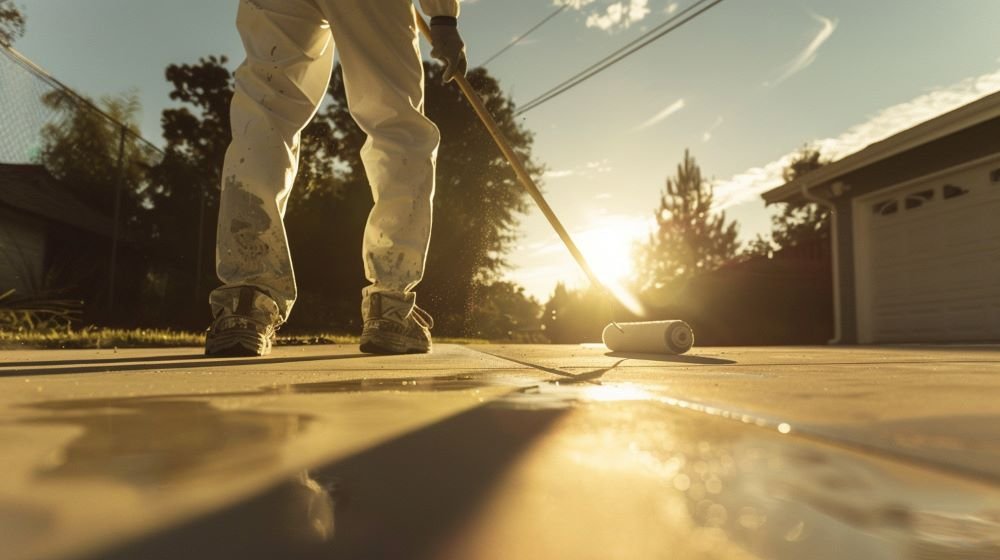
Once the surface is clean and dry, it’s time to apply the paint. Begin by cutting in the edges using a brush. This will help you get into the corners and along the edges of the driveway, ensuring a neat and professional finish. Use a roller to apply the paint to the larger areas of the driveway. Work in small sections, applying an even coat of paint in long, smooth strokes.
Make sure to follow the manufacturer’s instructions regarding the drying time between coats. Apply a second coat if necessary, ensuring that each coat is dry before applying the next. This will help to ensure a durable and long-lasting finish.
Remember to work in a well-ventilated area and wear protective clothing, including gloves and goggles. Clean your tools immediately after use to prolong their lifespan. Following these steps will help you achieve a beautifully painted concrete driveway that will enhance the curb appeal of your home.
Finishing Touches
Once the paint is dry, add the finishing touches to complete the look of your newly painted concrete driveway. These final steps will give your driveway a polished and professional appearance. Here are five items you can consider adding to achieve the desired effect:
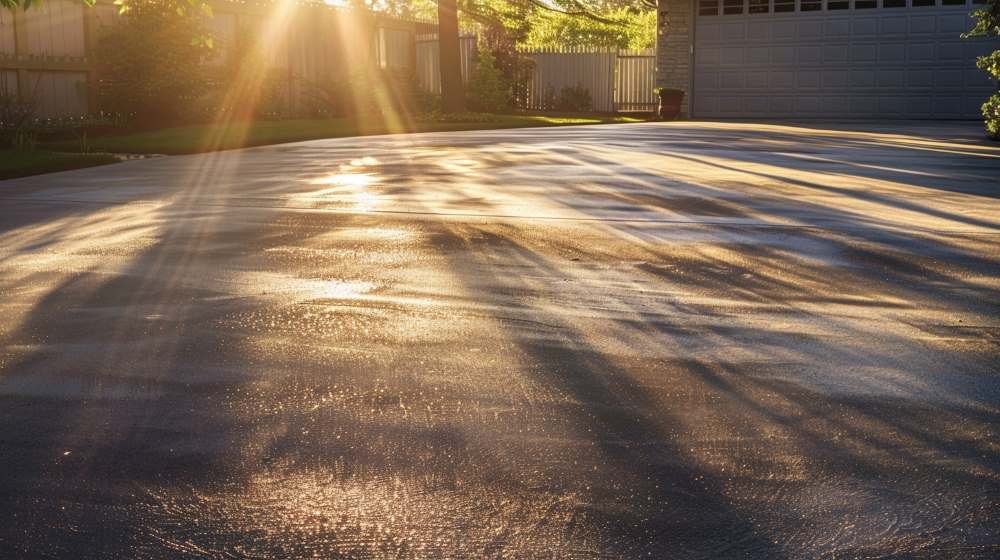
- Sealant: Apply a high-quality concrete sealant to protect the paint and enhance its longevity. This will also provide an added layer of protection against weather elements and potential damage.
- Stencils: Use stencils to create unique patterns or designs on your driveway. This can be a fun way to personalize your space and make it stand out from the rest.
- Border: Add a border along the edges of your driveway to define its boundaries and give it a clean and finished look. This can be done using a contrasting color or by using decorative elements such as bricks or stones.
- Reflectors: Install reflectors along the sides of your driveway to improve visibility and safety, especially at night. This won’t only add a functional element but also enhance the overall aesthetic appeal.
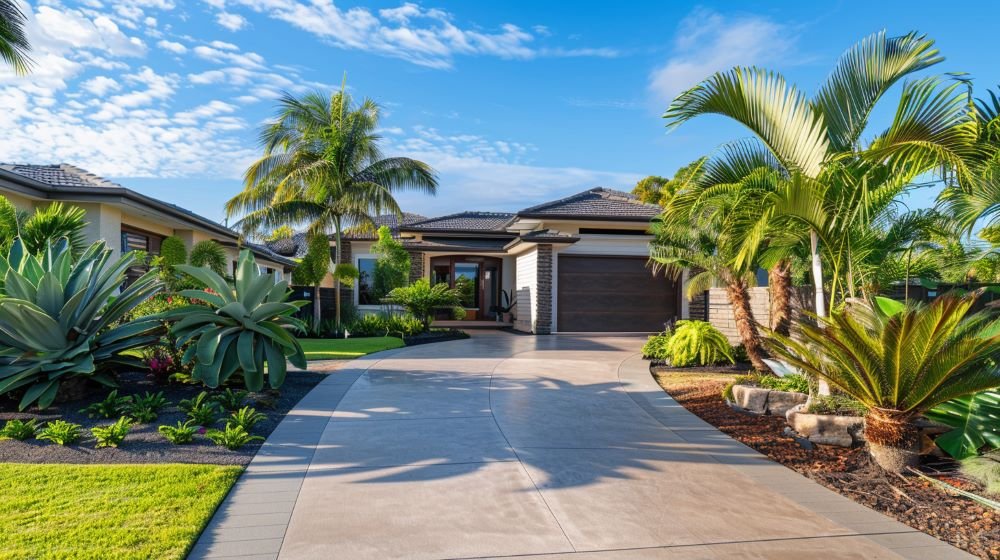
- Landscaping: Consider adding some landscaping elements around your driveway, such as flower beds or potted plants. This will add a touch of greenery and softness to the surrounding area, enhancing the overall curb appeal of your property.
Conclusion
In conclusion, by following these DIY steps, you can transform your concrete driveway into a visually stunning masterpiece.
With a fresh coat of paint, your driveway won’t only look beautiful but also provide a durable and long-lasting surface.
So grab your paintbrush and let your creative vision come to life, turning your driveway into a vibrant canvas that welcomes you home every day.
Let your imagination pave the way!


